
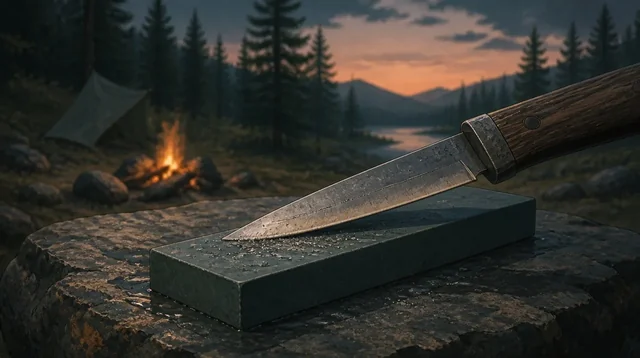
Knife Sharpening, Explained Like a Bushcrafter: Angles, Grits, Strops
Published July 18, 2026
Sharpening a knife is not a mysterious skill, it is one variable held steady across a few repeatable steps. The variable is the angle, and once you understand it, grit choice and stropping fall into place. A bushcrafter does not need a workshop for any of this; the whole process reduces to removing metal evenly on both sides until the two bevels meet in a clean edge, then refining that edge until it stops tearing and starts slicing.
The one thing that matters most: angle
Every edge has an angle, measured per side from the flat of the stone. Most field knives live between about 15 and 20 degrees per side. Lower angles, toward 15, slice cleaner and feel sharper but chip more easily. Higher angles, toward 20 and above, are more durable and better for a knife that chops or batons wood. The single most common mistake is not the choice of angle but failing to hold whatever angle you picked consistently, which is why a guided sharpener that clamps the angle for you is a reasonable crutch while you learn to feel it by hand.
A rough way to find 20 degrees without a protractor: lay the blade flat, tilt it halfway to vertical (that is 45), then halfway again (about 22), then drop it a touch. Set that angle and do not change it, stroke after stroke, side after side.
Grits: coarse to fine, in order
Sharpening is a progression from coarse to fine. You start coarse only if the edge is damaged or badly dull, because a coarse stone removes metal fast and reshapes the bevel. Once the two sides meet, you feel a tiny wire of metal along the edge called a burr, and that burr is your signal to move up in grit. Each finer grit removes the scratches left by the last one and refines the burr smaller, until a final strop pulls it off entirely and aligns the edge.
| Stage | Grit range | Job |
|---|---|---|
| Coarse | ~120 to 400 | Repair chips, reset a dull bevel |
| Medium | ~600 to 1000 | Establish a working edge, raise the burr |
| Fine | ~1200 to 3000 | Refine and polish the edge |
| Strop | Leather, bare or with compound | Remove the burr, align, add bite |
Skip the strop and you leave a fragile burr that folds over within a day of use, which is why an edge can feel scary-sharp off the stone and dull an hour into work. A field knife maintained with regular light touch-ups rarely needs the coarse end at all; most real sharpening is a few passes at fine plus a strop.
Field versus home, and what the show carries
At home you can spread out a full stone progression and take your time. In the field, weight and space win, so most people carry a single compact stone that spans two grits, or a diamond plate that cuts fast and works dry. The diamond sharpening stone guide covers the field-friendly options, and the sharpening stone gear page has the show's own category detail.
That last point is the interesting one. On Alone, a dedicated sharpening stone is one of the rarest picks: across the tracked seasons, only 3 of 101 recorded gear lists include one, all from the show's first three US seasons, and none belonged to a winner. That history is broken down in what contestants actually use and the best-sharpening-stone analysis. The reason most contestants skip it is exactly the maintenance logic above: a good hunting knife or hatchet bought sharp holds an edge for weeks of moderate use, and a creek rock or the spine of a blade can cover an emergency touch-up. Sharpening is worth learning precisely so you can carry less, not more, which is a lesson the show teaches every season. For how the field's best players think about their blades, the Alone knife meta is the deeper read.
More in the Field Journal or start with the season guides.